I’m always up for a frustrating challenge that involves banging my head relentlessly against a wall until one side gives in. That’s why I love my MacBook Air. Boot Camp doesn’t officially support Windows 10 right now, and my MacBook Air is too old to support booting from USB. At least that’s what Apple wanted me to believe.
The following is the tedious process I went through to “trick” my MacBook Air (3,2 / Late 2010) into letting me “burn” a Windows 10 ISO file onto a removable USB in order to put Windows 10 on my MacBook. A bit of intuitive tinkering with this process should allow you to get this to work for most models.
- Back your stuff up and grab a Windows 10 ISO here.
- Create the Windows installer. This gets fun, as you have to do some “sneaky beaver” stuff to trick your MacBook into thinking it’s much younger than it is.
- First, click the Apple logo in the top left -> About this Mac -> System Report. Look for something called “Boot Rom Version.” Mine was MBA31.0061.B07, yours should be something similar with the first 3 letters being a prefix for your computer model.
- Modify Boot Camp app – Warning, you could nuke Boot Camp here. Open up terminal and run the following command;
sudo nano /Applications/Utilities/Boot\ Camp\ Assistant.app/Contents/Info.plist
There are 2-3 modifications you need to make here.
- Add the “Boot Rom Version” under the header “DARequiredRomVersion” .. be sure to follow their tag formats.
- Find where it says “PreUSBBootSupportedModels.” Remove “Pre” from this string and then make sure your Mac model is there. This can be found in System Report from earlier next to Model Identifier. Mine was MacBookAir3,2 for example.
- (Might not be necessary) Check under “Win7OnlyModels” to make sure your Model Identifier is not listed. For some reason, Apple locks certain models from being able to install newer versions of Windows, simply removing your model from this list gets around this.
- Since you’ve modified the application, it will need to be resigned. This can be done by running the following;
sudo codesign -fs - /Applications/Utilities/Boot\ Camp\ Assistant.app/
(You might be prompted to install some additional tools if they don’t exist already, go ahead and install them.)
- Now, relaunch Boot Camp Assistant and you should now be able to create an install disk on your removable USB with your Windows 10 ISO file. Select “Create Windows 7 or later install disk” and “Download the latest Windows support software from Apple,” while leaving the third option unchecked. The next part will take some time.
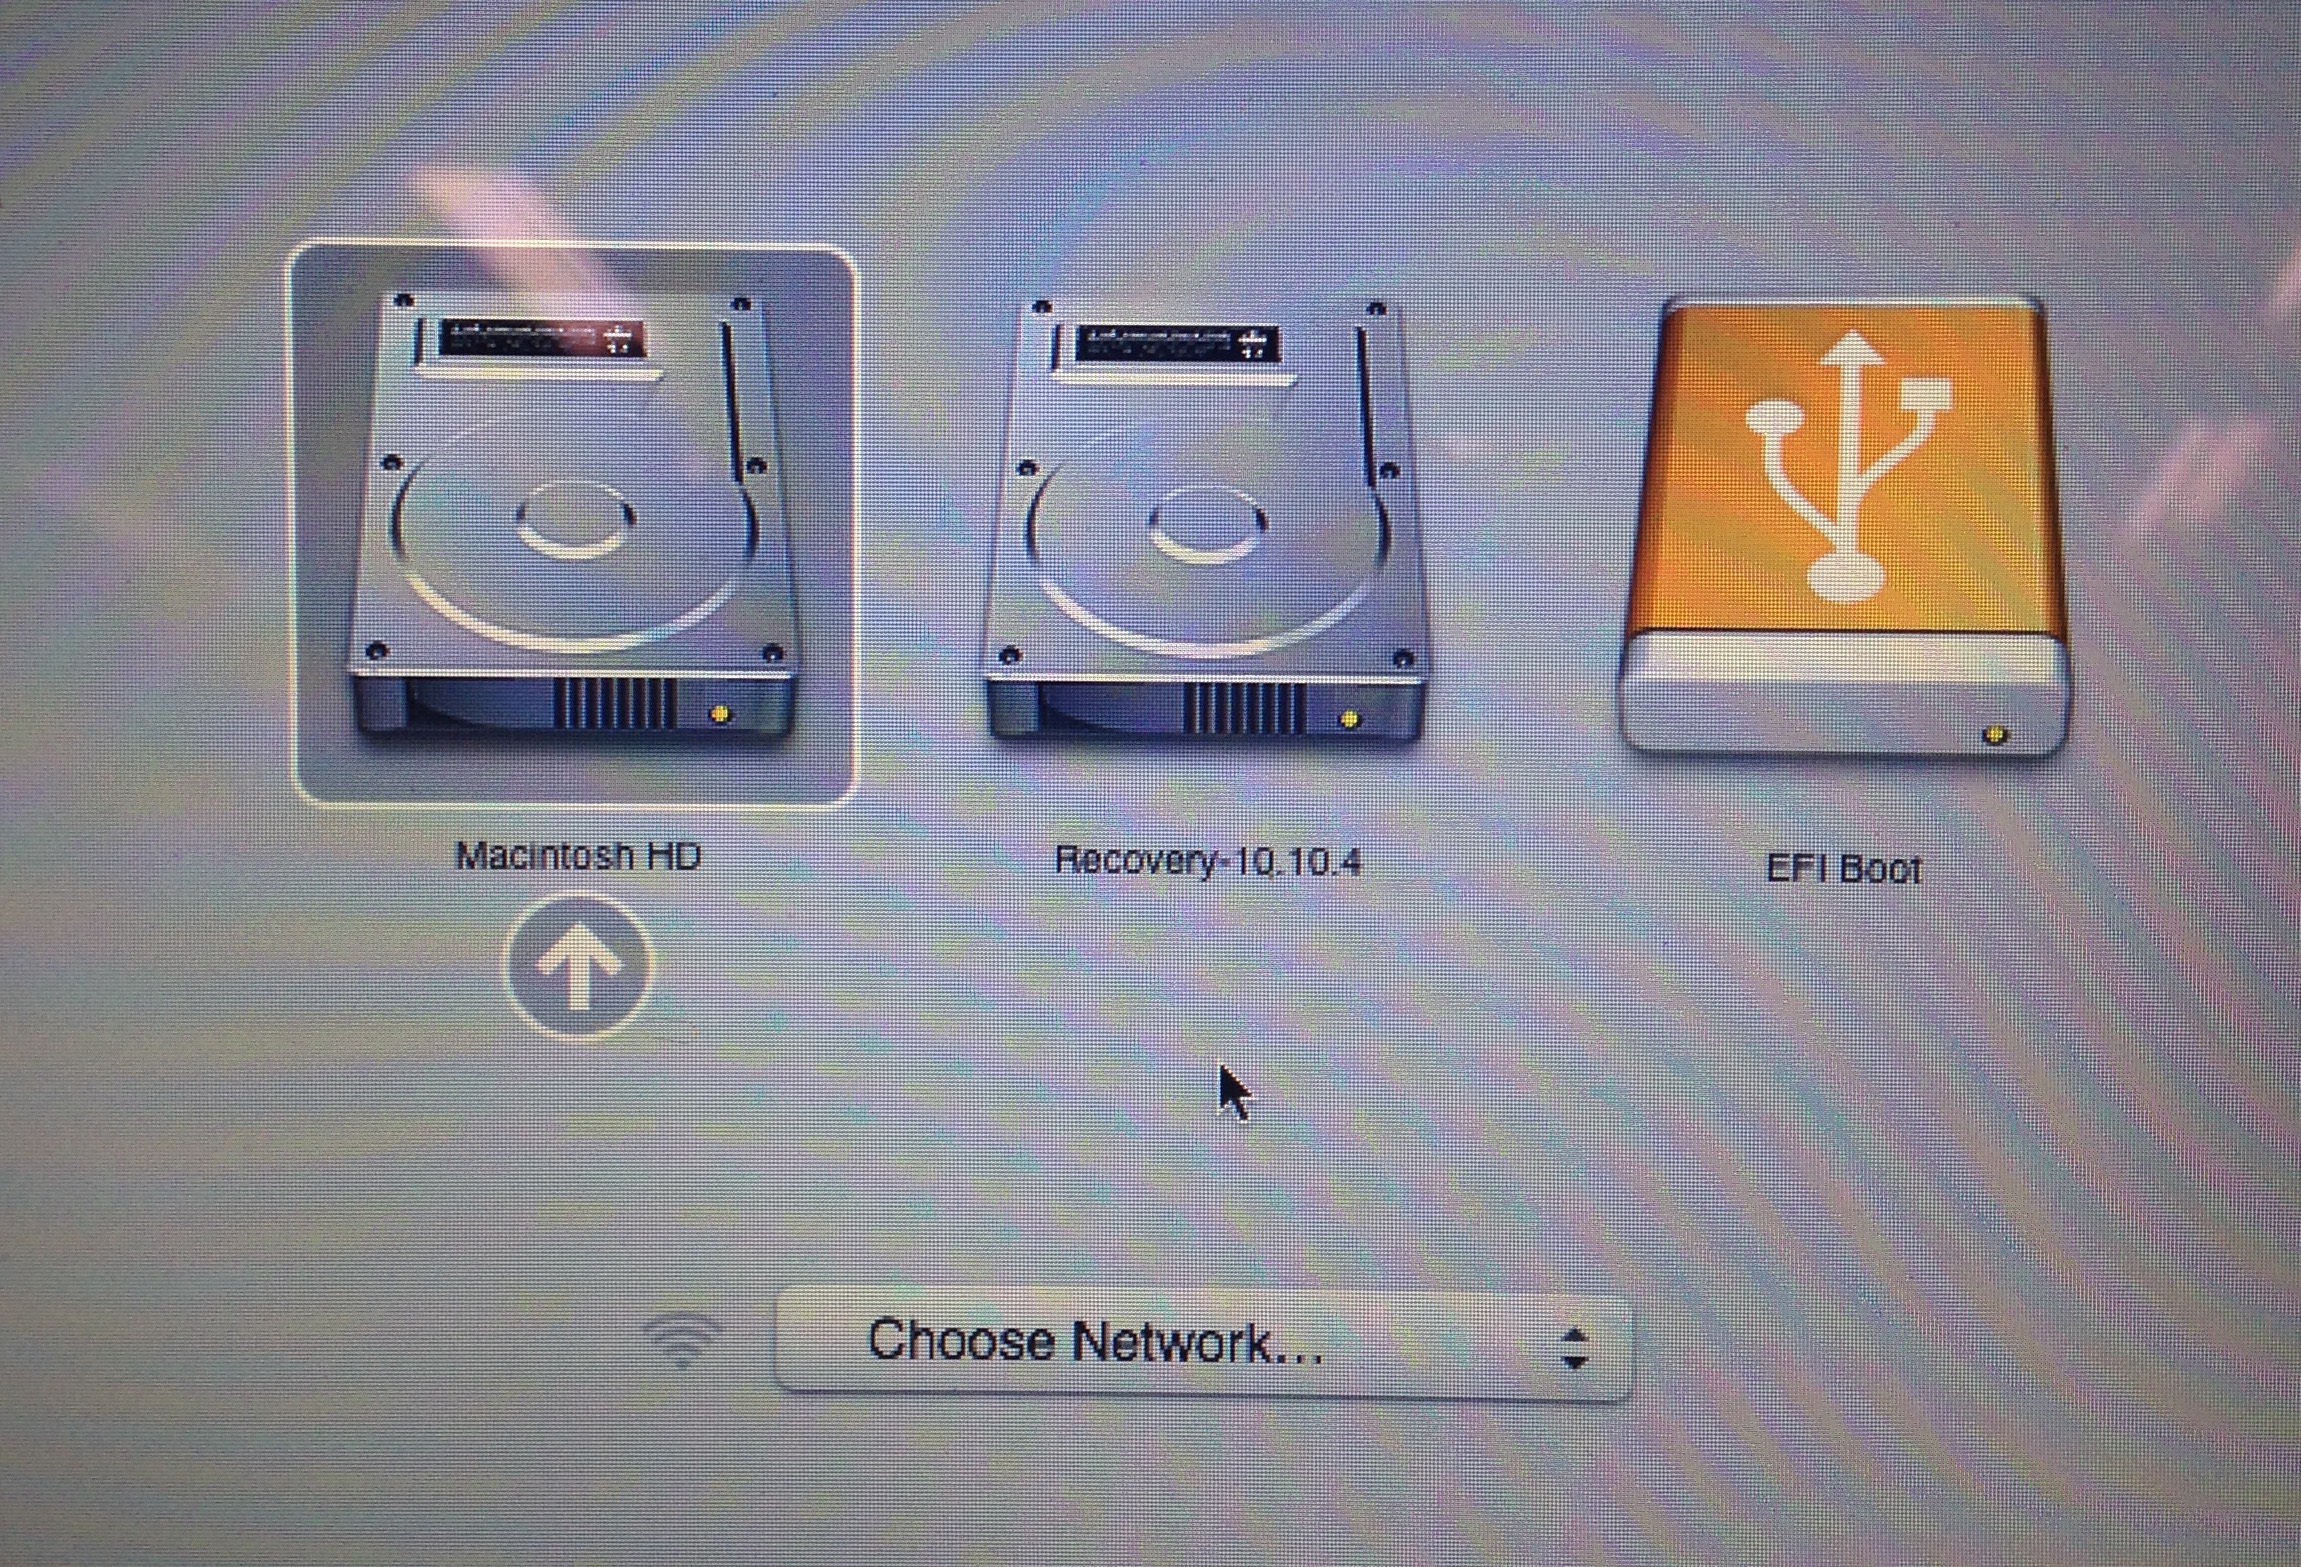
- After your install disk is created through bootcamp, restart your computer and press + hold the option key as soon as you hear the Mac chime. Release when you get to the boot menu, where you should see a USB drive named EFI. This is your Windows installation drive. Select it.

- Now we need to manually create a partition to install Windows 10 on. When you get to the setup menu with the option “Install Now,” open up a command prompt by pressing Shift + F10. Now, enter the following sequence of commands.
diskpart
select disk 0
convert gpt
create partition efi size=200
format fs=fat32
create partition msr size=128

// Decide how large you want your partition to be.
// 102400 == ~100 GB
create partition primary size=102400
format fs=ntfs quick label=Windows
exit
Now that the necessary partitions for Windows are created, close command prompt and follow the installation guide. When prompted, select your “Windows” partition as the drive to install Windows on.
- Now, your computer should boot straight into your fresh copy of Windows 10. When you need to use OS X, just hold the option key when you hear the Mac chime on startup and select your Mac HDD. If you want to change the default startup disk back to Mac and have Windows be secondary, follow these instructions.